

The MacBook Air is a great laptop and thanks to its SSD (Solid-state Drive), it provides impressive read and write speeds. The only problem is that SSD storage is expensive and the approach of storing user data on a separate partition becomes unfeasible with the limited space. One site running a fleet of 64GB MacBook Airs found themselves manually backing up user data before reimaging, then manually restoring the user's data.
To help improve their workflow, I investigated methods of backing up user data during reimaging with DeployStudio. I came across the BackupRestore scripts by Rusty Myers and they looked great for backing up and restoring over a gigabit network (up to 125 MB/s). However, since all reimaging at this site occurs in the I.T. Office, I wanted to make use of the jaw-dropping speeds of USB 3.0 (up to 525 MB/s) and Thunderbolt (up to 1.25 GB/s). Of course, real world transfer rates are less due to disk read/write speeds, but it’s still a substantial improvement over gigabit Ethernet speeds.
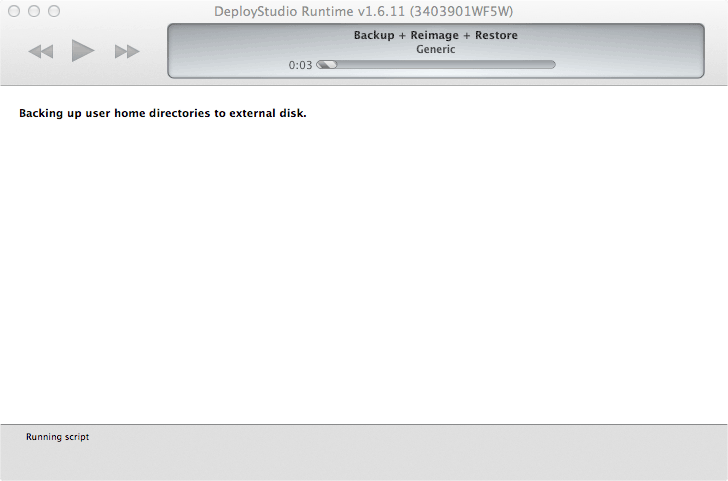
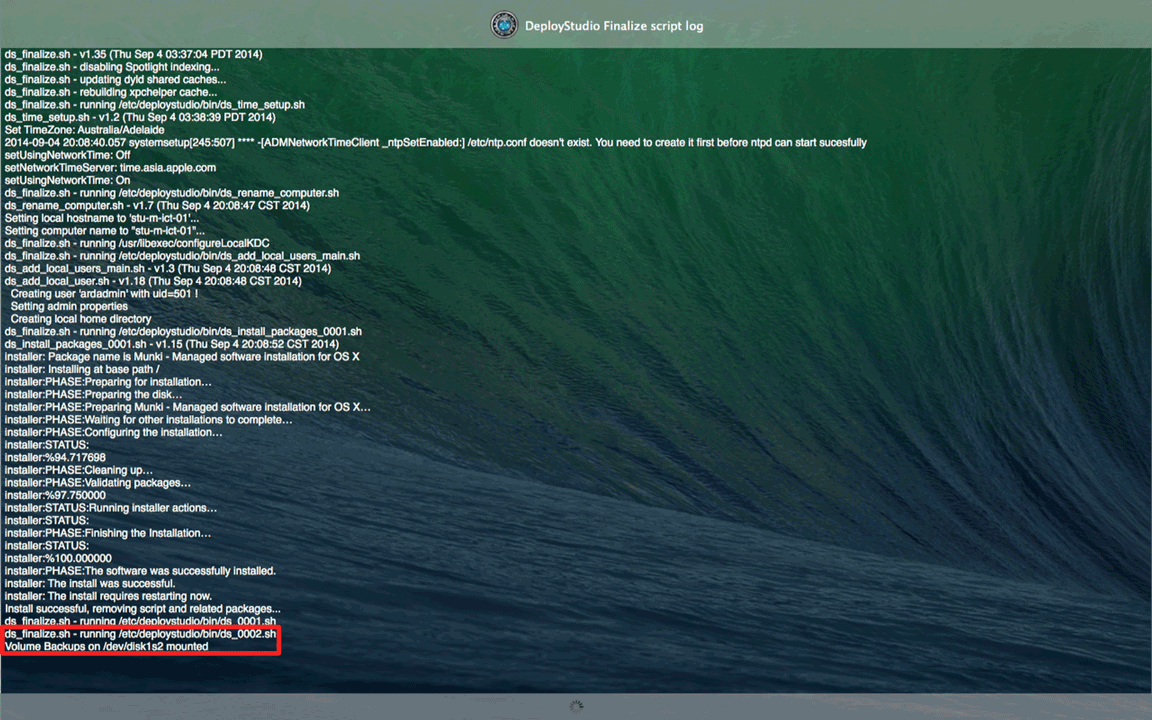
My solution involves two scripts, a backup script ran just before DeployStudio reimages the internal disk and a restore script executed on first boot.
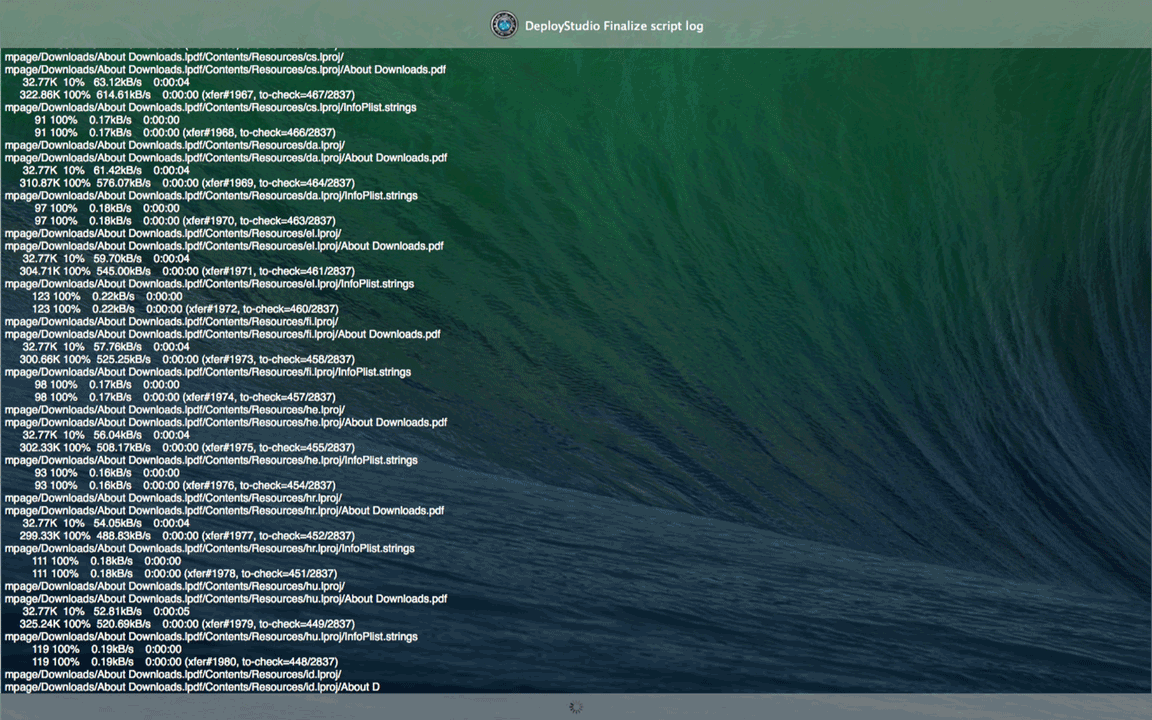
To further speed up the backup/restore process, unwanted data is skipped with rsync’s --include-from option, allowing pattern filtering of the items backed up and restored. A good example use is skipping the restore of ~/Library/Caches directories.
Setup
Setting up the required workflows is straightforward and takes approximately 10 minutes. To try it out simply follow the steps below.
Download backup.sh, restore.sh, backup_filter.txt and restore_filter.txt from GitHub here.
Copy backup.sh and restore.sh into your DeployStudio Scripts directory.
Copy backup_filter.txt and restore_filter.txt into your DeployStudio Files directory.
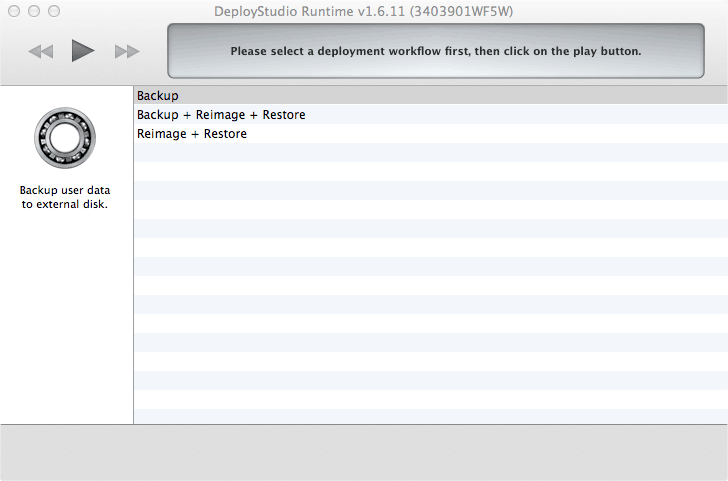
Open DeployStudio and create a workflow called 'Backup', add a ‘Generic’ script task and select backup.sh from the ‘Command’ drop-down list.
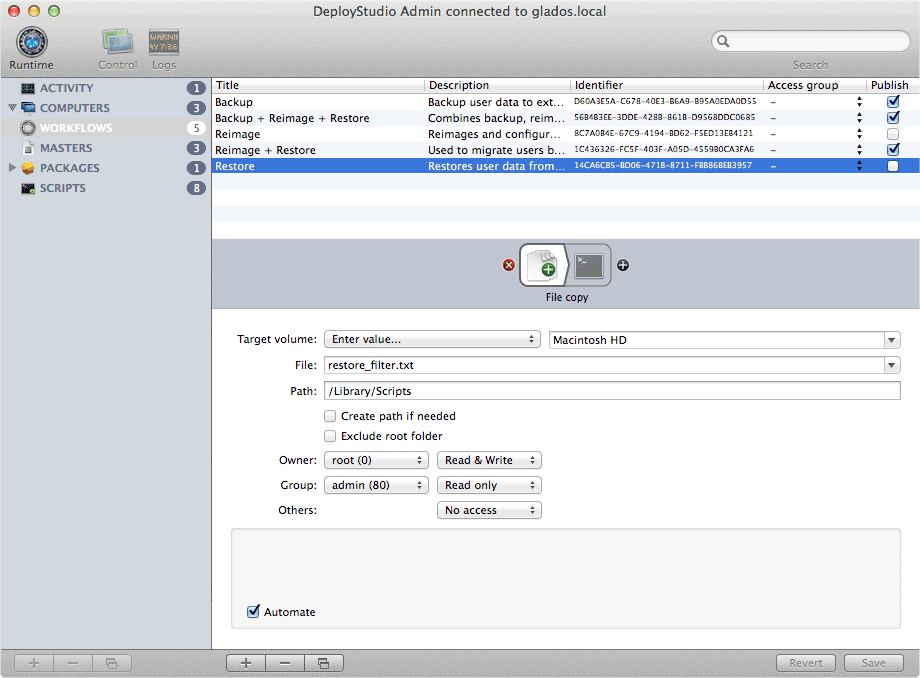
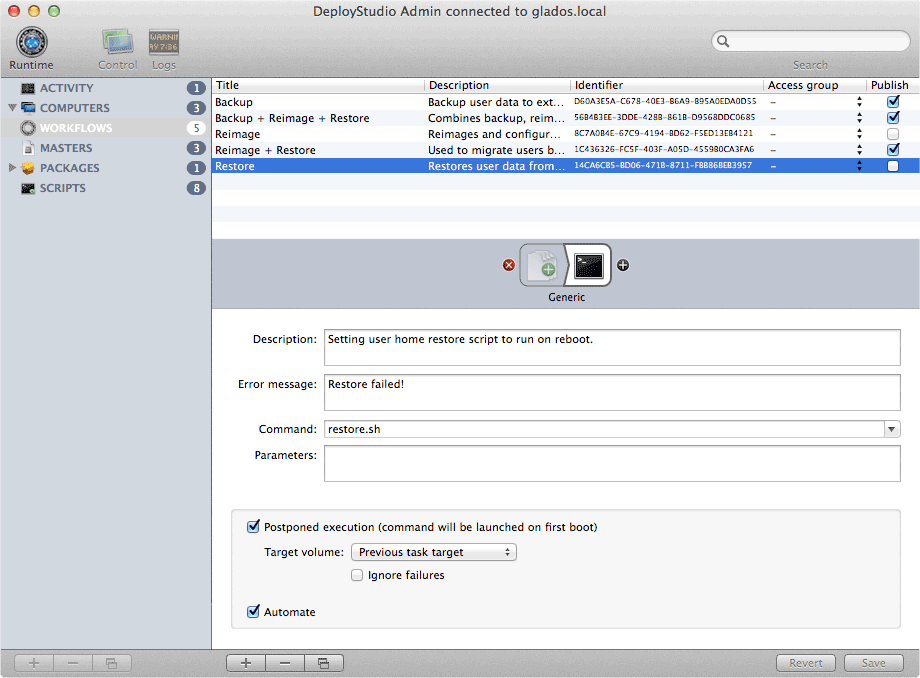
Create another workflow called ‘Restore’ and add a file copy task. Set the ‘Target volume’ to ‘Macintosh HD’, select ‘restore_filter.txt’ from the ‘File’ drop-down list and set the ‘Path’ to ‘/Library/Scripts’. Add a ‘Generic’ script task and select ‘restore.sh’ from the ‘Command’ drop-down list and check ‘Postponed execution (command will be launched on first boot).’
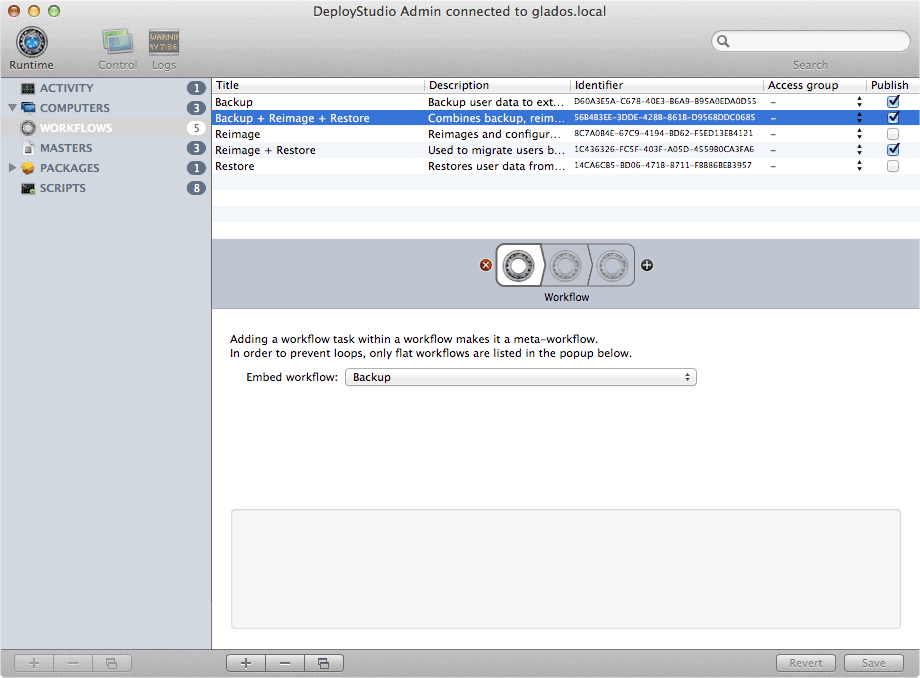
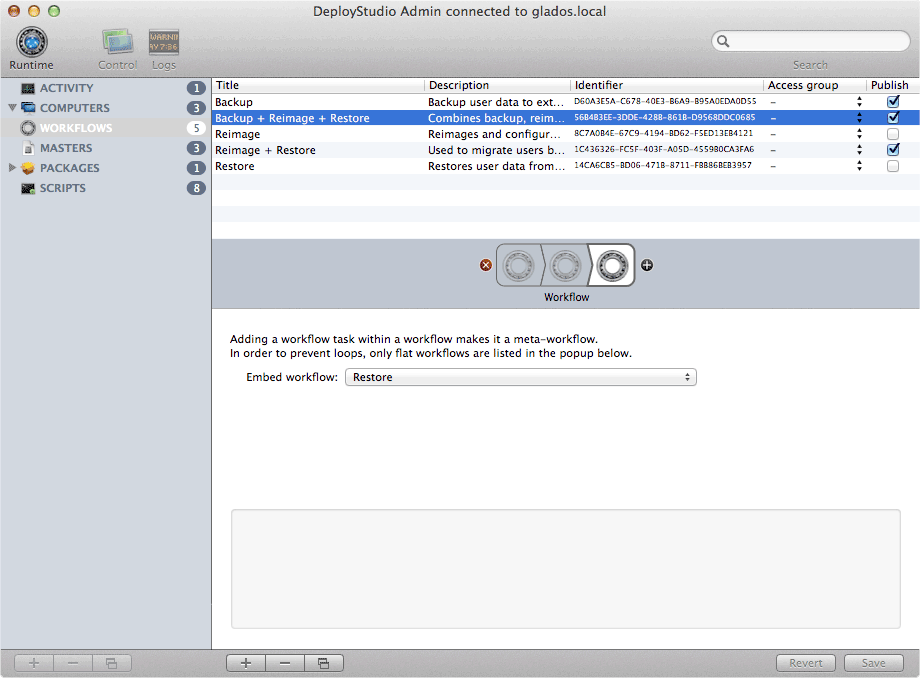
Create a third workflow called ‘Backup + Reimage + Restore’ and drag over three ‘Workflow’ tasks. As you can probably guess, the first ‘Workflow’ task is set to ‘Backup’. The second is your standard workflow for reimaging and the last is ‘Restore’.

Duplicate this workflow, rename it to ‘Reimage + Restore’ and remove the first backup ‘Workflow’ task. This workflow is used to restore a backup to a different Mac.
Lastly, uncheck the Publish checkboxes next to your reimage and ‘Restore’ workflows.
Time To Test
Before proceeding make sure you have a backup of any important data!
Format a USB/Thunderbolt/FireWire external disk, with the name 'Backups' and connect it to a Mac you wish to reimage.
NetBoot into DeployStudio and test out the new workflows.

Rapid Backup & Restore
Unfortunately, todays MacBook Airs only have one Thunderbolt port and during reimaging, that port is taken up by a Thunderbolt to gigabit Ethernet adapter. Although untested, I believe a Belkin Thunderbolt Express Dock would allow NetBooting into DeployStudio while attaching a Thunderbolt SSD.
Mac Migration
To migrate a user from one Mac to another, first run the the Backup workflow to take a backup of the source Mac. Connect the external disk to another Mac you will see a directory with the serial number of the source Mac. Simply rename the directory to the serial number of the destination Mac. Connect the backup disk to the destination Mac and then run a ‘Reimage + Restore’ workflow on the new Mac.
It is important to note that the restore script does not recreate user accounts, it just transfers user home directories. This is by design as the creation of the mobile account occurs when a user logs into the Mac for the first time.
Backup Archive
After successfully restoring a backup, it is moved into /Volumes/Backups/Restored/. This allows for recovery of any files that may have been skipped during restore, due to restore_filter.txt rules.